Energy Balls: Your Ultimate Guide to a Perfect Snack
You’ve seen them all over social media, in health food cafes, and maybe even in your coworker’s lunchbox. Little spheres of wholesome goodness, promising a boost of vitality in just a few bites. These are energy balls, the bite-sized snack that has taken the wellness world by storm. But what exactly are they, and are they as good as everyone claims?
This comprehensive guide will unpack everything you need to know about energy balls. We’ll explore their benefits, the essential ingredients that power them, and how you can easily make them in your own kitchen. We will also share delicious recipes and answer your most pressing questions about these popular no-bake treats. Prepare to discover your new favorite way to fuel your day.
What Are Energy Balls and Why Are They So Popular?
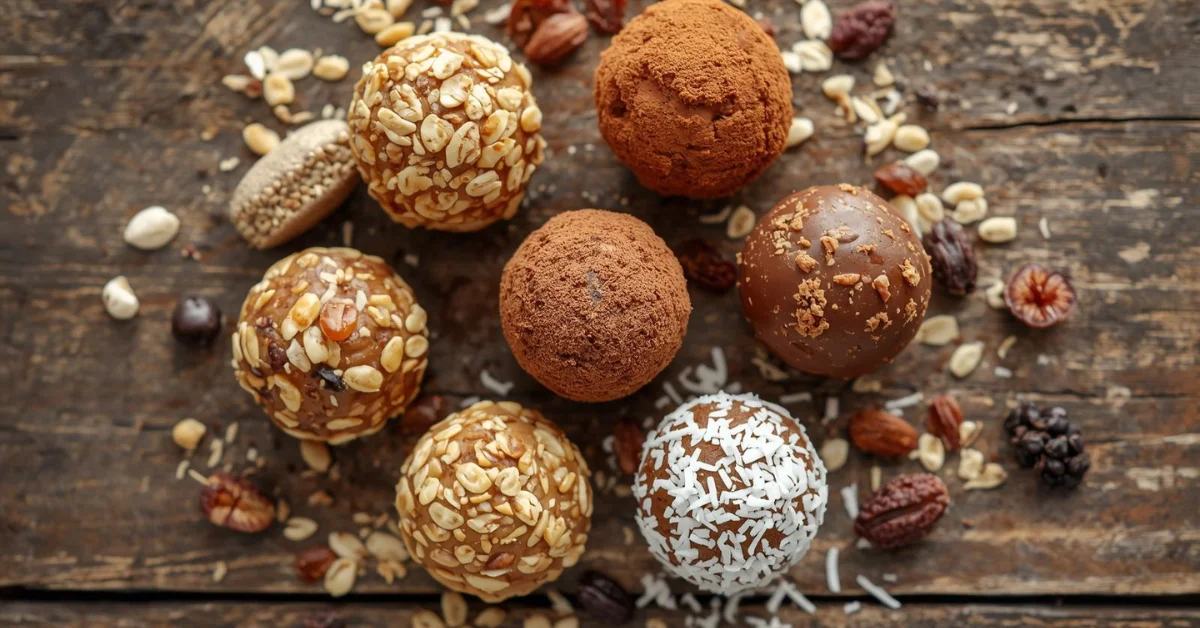
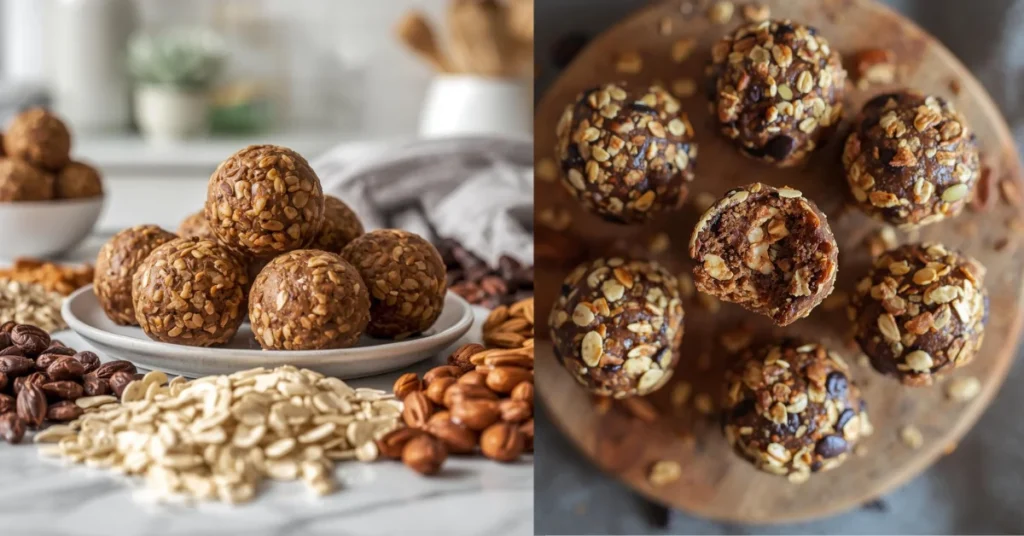
At their core, energy balls are a simple concept. They are small, round snacks made from a combination of nutrient-dense ingredients like oats, nuts, seeds, and dried fruit, all held together by a sticky binder like nut butter or honey. Also known as energy bites, protein balls, or bliss balls, they require no baking and can be prepared in minutes.
Their popularity stems from a perfect storm of convenience, nutrition, and customization. In a world where we’re constantly looking for healthy, grab-and-go options, energy balls fit the bill perfectly. They offer a balanced mix of carbohydrates for quick energy, protein for satiety, and healthy fats for sustained power, making them a far better choice than a sugary candy bar or a bag of chips. These energy packed foods provide a natural lift without the subsequent crash.
The rise of these snacks can also be attributed to a growing awareness of whole foods and clean eating. People are actively seeking snacks made from natural ingredients they can recognize. A homemade batch of energy balls gives you complete control over what goes into your body, allowing you to avoid preservatives, refined sugars, and artificial additives often found in store-bought energy bars.
The Nutritional Powerhouse in a Bite
What makes energy balls so effective? It’s all about the synergy of their components. Each ingredient plays a crucial role in creating a balanced macronutrient profile.
- Complex Carbohydrates: Ingredients like rolled oats provide complex carbs, which are digested slowly, offering a steady release of energy. This helps maintain stable blood sugar levels and keeps you feeling full and focused for longer.
- Healthy Fats: Nuts and seeds, such as almonds, walnuts, chia seeds, and flax seed, are packed with healthy fats. These are essential for brain health and provide long-lasting energy, helping you power through an afternoon slump.
- Plant-Based Protein: Nut butter, protein powder, and seeds like hemp hearts contribute to the protein content. Protein is vital for muscle repair and helps promote feelings of fullness, curbing cravings and preventing overeating.
- Natural Sweeteners: Dried fruit like dates, raisins, or dried cranberries provide natural sweetness along with fiber and essential minerals. Using sweeteners like maple syrup or raw honey in moderation offers a better alternative to refined sugar.
Because of this powerful combination, energy balls are an ideal snack for almost any occasion—a pre-workout boost, a mid-afternoon pick-me-up, or a healthy dessert.
The Essential Toolkit for Making Energy Balls
One of the best things about making energy balls is that you don’t need a kitchen full of fancy gadgets. However, a few key tools can make the process faster, easier, and more consistent.
Core Kitchen Tools
- Food Processor: This is the most important tool for making most energy ball recipes. A good food processor will effortlessly break down nuts, chop fresh dates, and combine all your ingredients into a uniform, sticky dough. It’s a must-have for achieving that perfect texture.
- Measuring Cups and Spoons: Precision is helpful when you’re starting out. A good set of measuring cups and spoons ensures your ingredient ratios are correct, which is key to getting a dough that holds together properly.
- Mixing Bowl: If you’re using pre-ground ingredients or making a chunkier style of energy balls without a food processor, a large mixing bowl is essential for combining everything thoroughly.
- Cookie Scoop: For perfectly uniform energy balls, a cookie scoop (like one from OXO Good Grips) is your secret weapon. It portions the dough evenly, so all your bites are the same size. This helps with consistent nutritional information per serving and ensures they all chill at the same rate.
- Baking Sheet: You’ll need a baking sheet lined with parchment paper to place the rolled energy balls on before chilling them. This prevents them from sticking to the plate or each other.
- Food Storage Container: Once chilled, your energy balls need a proper home. An airtight food storage container, such as a Pyrex Smart Essentials bowl or a simple zip-top bag, will keep them fresh in the fridge or freezer.
With these basic kitchen tools, you’ll be well-equipped to start your adventure in making delicious and nutritious energy balls.
Building Your Perfect Energy Ball: A Step-by-Step Guide
Creating your own energy balls is a creative and rewarding process. You can stick to a classic recipe or mix and match ingredients to invent your own signature flavor. Here’s a breakdown of the fundamental components and how to combine them.
Step 1: Choose Your Base
The base provides the bulk and primary carbohydrate source for your energy balls. It’s the foundation upon which you’ll build your flavor.
- Rolled Oats: The most common choice, protein-packed rolled oats offer a wonderful chewy texture and are naturally gluten free (be sure to buy certified gluten-free oats if you have celiac disease).
- Nuts: Almonds and walnuts are fantastic options. You can use them raw or toasted for a deeper flavor. Pulse them in the food processor to create a coarse meal.
- Coconut Flour: For a grain-free, low-carb alternative, coconut flour is an excellent choice. It’s highly absorbent, so you may need to adjust your liquid ingredients.
Step 2: Pick a Protein Source
Adding protein will make your energy balls more satisfying and help stabilize your energy reserves.
- Nut Butter: Creamy or crunchy, the choice is yours. Almond butter, peanut butter, and cashew butter are all fantastic options that add flavor, healthy fats, and protein.
- Protein Powder: To significantly increase the protein content, add a scoop of your favorite protein powder. Chocolate or vanilla flavors work well in most recipes. A chocolate protein powder pairs well with cacao powder for a rich taste.
- Seeds: Chia seeds, ground flaxseed, and hemp hearts are excellent sources of plant-based protein and omega-3 fatty acids.
Step 3: Select a Binder (and Sweetener)
The binder is what holds your energy balls together. Often, it doubles as the primary sweetener.
- Dried Fruit: Medjool dates are the gold standard for no bake recipes. They are soft, sticky, and naturally sweet. Soak them in warm water for 10 minutes if they feel dry. Raisins, dried apricots, and dried cherries also work well.
- Liquid Sweeteners: Maple syrup and raw honey are popular choices. They add moisture and a delicious flavor. Use them judiciously to control the sugar content.
- Nut Butter: In addition to being a protein source, a creamy nut butter is an effective binder that helps the nut mixture stick together.
Step 4: Add Flavor and Texture
This is where you can get really creative! These “mix-ins” turn ordinary energy balls into something special.
- Flavor Enhancers: Cocoa powder or cacao powder for a rich, chocolatey taste. Vanilla extract adds warmth and depth. A pinch of salt enhances all the other flavors. Spices like cinnamon or pumpkin pie spice are perfect for seasonal variations.
- Textural Add-ins: Chocolate chips (mini chocolate chips or semisweet chocolate chips work best), shredded coconut or coconut flakes, cacao nibs, and chopped nuts add a satisfying crunch. For a pop of color and tartness, try dried cranberries or freeze-dried strawberries.
Step 5: The Process (Putting It All Together)
- Combine: Place your base, binder (like dates), and any whole nuts into a food processor. Pulse until the mixture is broken down and starts to clump together.
- Mix: Add your remaining ingredients—protein powder, seeds, nut butter, flavor extracts, and mix-ins. Pulse again until a sticky, uniform dough forms. If the mixture is too dry, add a teaspoon of water or more nut butter. If it’s too wet, add more oats or ground flax seed.
- Roll: Use a cookie scoop or a tablespoon to portion the dough. Roll the portions between your hands to form tight balls. If desired, you can roll the finished energy balls in shredded coconut, cacao powder, or hemp seeds for an extra coating.
- Chill: Place the energy balls on a parchment-lined baking sheet and refrigerate for at least 30 minutes. This helps them firm up and hold their shape.
Once firm, transfer your homemade energy balls to an airtight food storage container. They will last for up to two weeks in the refrigerator or for several months in the freezer.
Popular Energy Ball Recipes to Try at Home
Ready to start making your own energy balls? Here are a few popular protein ball recipes to inspire you, from classic combinations to more adventurous flavors.
Classic Peanut Butter Chocolate Chip Energy Balls
This is the quintessential no-bake energy bite recipe. It’s a crowd-pleaser that tastes like a healthy cookie dough.
Ingredients:
- 1 cup rolled oats
- 1/2 cup creamy peanut butter
- 1/3 cup raw honey or maple syrup
- 1/2 cup ground flaxseed
- 1/2 cup mini chocolate chips
- 1 tablespoon chia seeds
- 1 teaspoon vanilla extract
Instructions:
- In a large bowl, combine all ingredients.
- Mix until everything is thoroughly incorporated.
- Chill the mixture for 30 minutes to make it less sticky.
- Roll into 1-inch energy balls. Store in the refrigerator.
Chocolate Covered Paleo Brownie Energy Balls
For those following a grain-free diet, these Paleo Energy Balls are a dream come true. They are rich, fudgy, and decadent.
Ingredients:
- 1 cup walnuts or almonds
- 1/2 cup Medjool dates, pitted
- 1/4 cup cacao powder
- 2 tablespoons almond butter
- 1/4 cup shredded coconut, plus more for rolling
- Pinch of sea salt
Instructions:
- In a food processor, pulse the walnuts until they form a coarse meal.
- Add the dates, cacao powder, almond butter, coconut, and salt. Process until a sticky dough forms.
- Roll the mixture into balls.
- Roll each ball in extra shredded coconut to coat.
- Refrigerate for 30 minutes to set. These are a great protein paleo snack.
Lemon Pie Energy Balls
Looking for something bright, zesty, and refreshing? These Lemon Pie Energy Balls are the perfect sweet tasting food for a sunny day.
Ingredients:
- 1 cup raw cashews
- 1/2 cup shredded coconut
- 1/2 cup Medjool dates, pitted
- Zest and juice of 1 lemon
- 1 teaspoon vanilla extract
Instructions:
- In a food processor, blend the cashews and coconut until a fine crumb is formed.
- Add the dates, lemon zest, lemon juice, and vanilla. Process until the mixture sticks together when pressed.
- Roll into small balls and chill until firm.
Exploring More Energy Ball Flavors
The possibilities for energy ball flavors are truly endless. Don’t be afraid to experiment with different combinations based on your favorite desserts or seasonal ingredients. Here are a few ideas to get you started:
- Cinnamon Banana Bread Energy Balls: Use mashed banana as a fruit-based binder along with oats, walnuts, and cinnamon.
- Cranberry Pistachio Honey Bites: A festive combination of tart dried cranberries, crunchy pistachios, and sweet honey.
- Super Seed Energy Bites: Pack in the nutrients with a mix of chia seeds, flax seed, hemp hearts, and sunflower seeds.
- Blueberry Pie Energy Balls: Use freeze-dried strawberries or blueberries for an intense fruit flavor without adding extra moisture.
- Anti-inflammatory Apple Cider Vinegar Energy Bites: Some recipes even incorporate ingredients like apple cider vinegar or ground turmeric for added health benefits.
Frequently Asked Questions About Energy Balls
As the popularity of energy balls has grown, so have the questions surrounding them. Here are responses to some of the most frequently asked questions.
Are energy balls actually healthy?
Yes, when made with wholesome, natural ingredients. The key is to be mindful of portion sizes and the amount of added sweeteners. A typical recipe for energy balls offers a good balance of protein, healthy fats, and fiber, making them a nutritious snack. They are certainly a healthier alternative to processed snacks.
How many energy balls can I eat in a day?
This depends on the size of the energy balls and their specific ingredients. As a general guideline, one or two energy balls make for a perfect snack. They are calorically dense, so it’s best to enjoy them in moderation, especially if you’re watching your calorie intake.
Can energy balls be made without a food processor?
Absolutely! If you don’t have a food processor, you can still make delicious no bake energy bites. Choose recipes that use ingredients that don’t require heavy processing, such as rolled oats, nut butter, and liquid sweeteners. You can buy pre-ground flaxseed and use a knife to finely chop any nuts or dried fruit. Then just combine all the ingredients in a bowl.
What are some good nut substitutions?
If you have a nut allergy or simply want to try something different, there are plenty of nut substitutions. Sunflower seed butter can replace peanut or almond butter. For the base, you can use more rolled oats or a mix of seeds like pumpkin and sunflower seeds instead of almonds or walnuts.
How do I store energy balls?
Store your energy balls in an airtight food storage container in the refrigerator. They will typically stay fresh for one to two weeks. For longer storage, you can freeze them. Place them on a baking sheet in a single layer to freeze individually, then transfer them to a freezer-safe bag. They will keep in the freezer for up to three months.
Embrace the Power of Homemade Snacking
The journey into the world of energy balls is more than just a culinary trend; it’s a step toward more mindful and empowered eating. By creating your own snacks, you take control of your nutrition, fuel your body with wholesome ingredients, and save money compared to buying pre-packaged energy bars from the grocery store.
These versatile little spheres are a testament to the fact that healthy food can be delicious, convenient, and fun to make. Whether you need a quick burst of energy before a workout, a healthy treat to satisfy your sweet tooth, or a nutritious snack for your family, energy balls are the perfect solution.
So, pull out your food processor, gather your favorite ingredients, and start rolling. Experiment with different energy ball flavors, share them with friends, and discover the joy of a snack that truly nourishes you from the inside out. Your body and your taste buds will love it.