Exterior Paint Repair: Fix Peeling & Cracking Paint
Exterior paint repair is about more than making your home look good. A home’s exterior paint acts like a shield against sun, rain, wind, and temperature swings. When that finish starts to crack, peel, or bubble, the problem is not just cosmetic. Damaged paint can leave siding, trim, and other surfaces exposed to moisture and wear. That is why exterior paint repair matters more than many homeowners realize. The good news is that small issues can often be fixed before they turn into expensive projects. With the right approach, you can improve appearance, protect your home, and help the next coat of paint last much longer.
Table of Contents
Why Exterior Paint Fails in the First Place
Paint rarely fails for just one reason. In most cases, it is the result of time, weather, and surface conditions working together. Even a high-quality paint job will eventually break down.
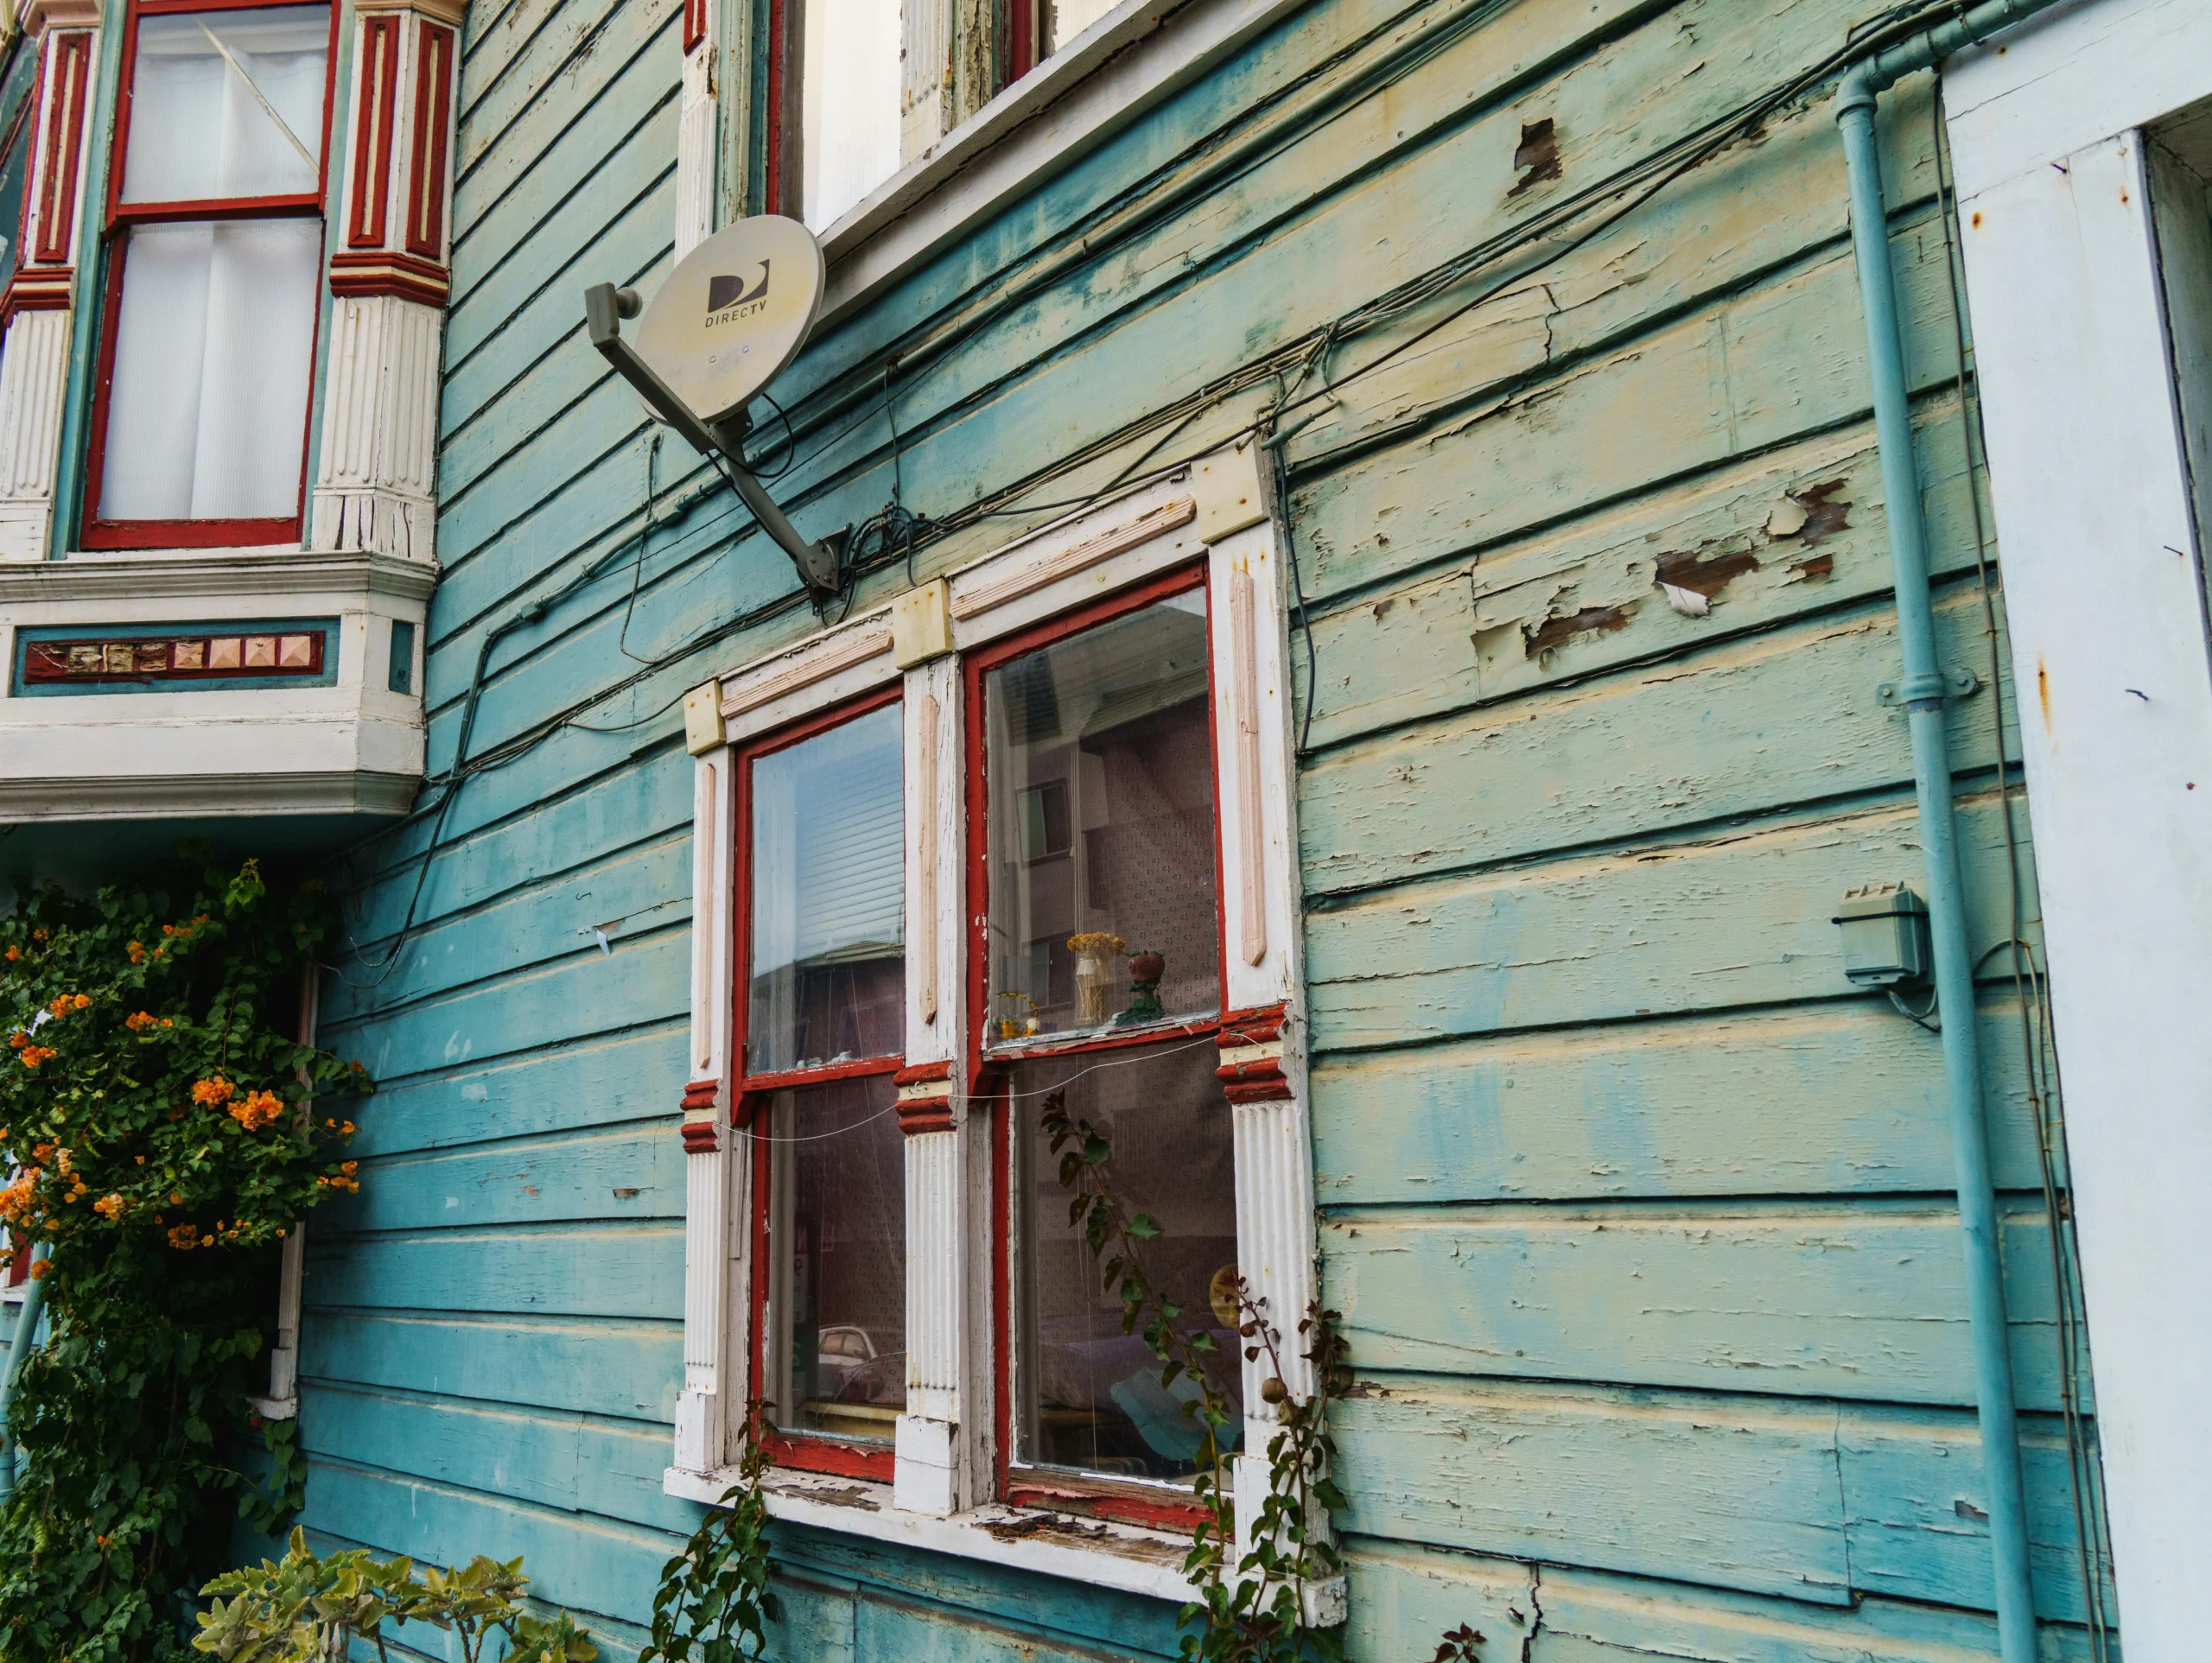
Sun exposure is one of the biggest causes. Strong UV rays dry out paint and fade color over time. South- and west-facing walls often show wear first because they take the brunt of direct sunlight.
Moisture is another major factor. Rain, humidity, sprinklers, clogged gutters, and poor drainage can all lead to bubbling, peeling, and stains. If water gets behind the paint film, it weakens adhesion and can damage the material underneath.
Temperature changes also matter. Wood expands and contracts as the weather shifts. That movement stresses paint and can cause cracking along joints, trim boards, and older siding.
Poor prep work is a common hidden cause. If a previous painter skipped scraping, sanding, priming, or cleaning, the finish may fail long before it should. Low-grade products can make the problem worse.
In older homes, multiple layers of aging paint may also create a weak base. At some point, patching is no longer enough and a larger restoration becomes necessary.
Common Signs Your Home Needs Attention
You do not need to be a contractor to spot early paint problems. A simple walk around the house can reveal a lot.
Look for these warning signs:
- Peeling or flaking paint
- Cracks in painted trim or siding
- Blistering or bubbling areas
- Faded, chalky, or worn surfaces
- Water stains near gutters, windows, or rooflines
- Exposed bare wood or metal
- Soft spots, rot, or mildew around trim boards
Some issues are mostly visual at first. Others point to deeper problems. For example, peeling near windows may suggest moisture intrusion. Bubbling on siding can mean trapped water or paint applied over a damp surface. Rust bleeding through painted metal may indicate corrosion under the finish.
The key is to catch trouble early. Minor surface fixes are usually manageable. Once paint failure spreads, the job becomes more labor-intensive and more expensive.
Repair or Repaint? How to Know the Difference
Not every damaged exterior needs a full repaint. In many cases, a targeted fix is enough. The challenge is knowing when patching is practical and when the existing paint system has reached the end of the line.
Localized damage often responds well to exterior paint repair. If the issue is limited to a few boards, a section of trim, or one wall exposed to harsh weather, you may be able to scrape, patch, prime, and repaint only those areas.
A larger repaint may be the better choice if:
- Damage appears on multiple sides of the house
- Paint is failing in many layers
- Color fading is severe and uneven
- Caulk joints are breaking down throughout the exterior
- Bare substrate is exposed in many places
- The current finish is very old or poorly bonded
There is also a visual factor. Even if you repair one section successfully, the new paint may not blend perfectly with aged paint nearby. Sun fade makes exact color matching difficult, especially on older homes.
If you are unsure, think in terms of scale. Small, isolated failures usually call for spot treatment. Widespread breakdown points to a full repaint plan.
The Most Important Step: Fix the Cause Before the Surface
One of the biggest mistakes homeowners make is painting over damage without solving the underlying issue. Fresh paint may look better for a while, but the same problem often comes back.
Before repairing any surface, identify what caused the failure.
Start with moisture. Check roof edges, gutters, downspouts, window trim, hose bibs, and sprinkler patterns. Water running down siding or collecting near the foundation can ruin even a good paint job.
Inspect caulking around windows, doors, and trim. Gaps allow water to seep in behind painted surfaces. Replace failed caulk before repainting.
Look at landscaping too. Bushes pressed against the house trap moisture and reduce airflow. Tree branches can scrape paint and keep walls damp after rain.
If wood feels soft, you may have rot rather than simple paint failure. In that case, the damaged material should be repaired or replaced before any priming or painting begins.
This is what separates a quick cosmetic patch from a lasting result. Paint should seal and protect a sound surface, not hide an unresolved problem.
How the Repair Process Usually Works
A proper exterior paint fix is less about the final coat and more about the steps that come before it. Good preparation creates a stronger, cleaner, and longer-lasting finish.
1. Cleaning the surface
Dirt, mildew, chalky residue, and loose debris need to be removed first. Depending on the surface, this may involve hand washing, a mild cleaner, or careful pressure washing. The goal is a clean, dry base.
2. Scraping loose paint
Any paint that has already lost adhesion must come off. This step removes flaking edges and exposes unstable areas nearby. Skipping this part almost guarantees future peeling.
3. Sanding rough transitions
After scraping, sanding smooths the edge between bare spots and intact paint. This helps the patch blend better and gives primer a better grip.
4. Repairing damaged material
Cracks, holes, and shallow defects may be filled with exterior-grade patching compound or wood filler. Rotted trim, warped boards, or badly damaged siding often need replacement instead of filler.
5. Priming bare areas
Primer is essential on exposed wood, patched spots, metal, and surfaces with stains. It improves adhesion, blocks bleed-through, and creates a more even base for finish paint.
6. Applying paint
Once the area is repaired and fully dry, the topcoat can go on. Matching sheen and color matters just as much as choosing the right product. A patch on flat paint behaves differently than one on satin or semi-gloss.
When done correctly, exterior paint repair can extend the life of your existing paint job and delay a full repaint for years.
Different Surfaces Need Different Solutions
Not all exterior materials fail in the same way, and they should not be treated the same way either.
Wood siding and trim
Wood is especially vulnerable to moisture and sun. It can swell, split, or rot if paint breaks down. Repairs often involve scraping, sanding, filling, priming, and recaulking joints. If boards are soft or decayed, replacement is usually the smarter move.
Stucco
Stucco tends to crack rather than peel in the same way wood does. Hairline cracks may be patched, but larger cracks may point to structural movement or water intrusion. Repairs need to match both the texture and the coating.
Fiber cement siding
This material is durable, but paint can still fade or peel if prep work was poor or moisture gets into seams. Repairs usually hold well when the surface is cleaned, primed correctly, and repainted with the proper product.
Brick and masonry
Painted brick can trap moisture if the wrong coating is used. Before touching up painted masonry, it is important to understand whether the wall is handling moisture properly. Efflorescence, peeling, or white powdery residue may indicate a moisture problem.
Metal surfaces
Railings, doors, and metal trim often fail because of rust. The rust must be removed or stabilized first. After that, a rust-inhibiting primer helps protect the surface before repainting.
Each material has its own repair logic. A one-size-fits-all approach usually leads to uneven results.
DIY or Hire a Professional?
Some homeowners can handle small paint fixes on their own. Others are better off calling a pro. The right choice depends on the size of the job, the condition of the surface, and your comfort level with prep work.
DIY can make sense when:
- The damaged area is small and easy to reach
- The substrate is still in good condition
- You have the right tools and enough time
- Color matching is not critical
- There is no sign of hidden water damage or rot
Hiring a professional is often worth it when:
- The home is two stories or taller
- Damage affects multiple surfaces
- There may be rot, mildew, or moisture intrusion
- Lead paint could be present in an older home
- You want the repaired area to blend as well as possible
A professional painter or exterior specialist can also tell you whether the issue is truly paint-related or part of a bigger maintenance problem. That diagnosis can save money in the long run.
How Much Does It Usually Cost?
Costs vary widely, but a few factors drive most pricing. In many U.S. markets, a spot repair typically costs about $200–$800, while repainting or repairing a full facade often falls in the $1,500–$4,000 range.
The size of the damaged area matters first. Touching up a few trim boards costs much less than repairing multiple elevations of siding.
Labor is another major factor. Prep work takes time, and that is often the biggest part of the bill. Scraping, sanding, priming, caulking, and material replacement all add cost before finish paint even comes into play.
Surface type matters too. Wood repair tends to be more labor-heavy than simple touch-ups on fiber cement. Stucco and masonry can require specialized patching or coatings.
Accessibility also affects price. High gables, steep terrain, and hard-to-reach trim increase labor and safety needs.
If hidden damage is found, costs rise fast. What looks like peeling paint may turn out to be rotten trim, failed flashing, or long-term water entry.
For that reason, homeowners should be cautious about very low quotes. A cheap fix that skips prep usually does not stay fixed for long.
Tips to Help Repairs Last Longer
A good repair should not just look better today. It should hold up through future seasons.
To improve durability:
- Choose paint made for exterior conditions in your climate
- Never paint over damp or dirty surfaces
- Prime all bare and patched areas
- Replace failing caulk around trim and openings
- Keep gutters clear and direct water away from the house
- Trim back plants to improve airflow
- Inspect the exterior at least once or twice a year
Timing matters too. Mild, dry weather is usually best for this kind of work. Extreme heat, cold, or humidity can affect curing and adhesion.
If you are repairing a very visible section, save the product labels and color details. That makes future touch-ups easier and more consistent.
The long-term goal is simple: protect the building envelope, not just refresh the color.
What Homeowners Often Get Wrong
Many repair jobs fail for preventable reasons. The most common mistake is treating peeling paint as a surface-only issue. If moisture is involved, paint alone will not solve it.
Another common problem is weak prep. People often scrape the obvious flakes and stop there. But paint tends to fail beyond the visibly damaged edge. If unstable surrounding paint is left in place, the patch may lift sooner than expected.
Skipping primer is another frequent issue. Finish paint is not a substitute for primer on bare wood, patched surfaces, or metal.
Some homeowners also try to match old color without checking sheen. Even if the color is close, a different sheen can make the patch stand out badly in sunlight.
Finally, there is the temptation to wait too long. Small defects are easier and cheaper to address. Once water gets in, the repair may move beyond paint and into carpentry.
That is why exterior paint repair is best viewed as preventive maintenance, not just cosmetic cleanup.
How do I know if peeling paint is caused by moisture?
Look for peeling near windows, rooflines, gutters, or areas that stay shaded and damp. Bubbling, mildew, soft wood, and water stains are also signs that moisture may be the real cause.
Can I paint over chipped exterior paint without scraping it?
No. Loose or failing paint should be removed first. Painting over chipped areas usually leads to poor adhesion and more peeling later.
Is it possible to match old exterior paint exactly?
Sometimes, but not always. Sun exposure changes color over time, so even a correct formula may look slightly different. Blending nearby areas can help reduce the contrast.
How long does a repair usually last?
That depends on the cause of the damage, the quality of the prep work, and the weather exposure. A well-done repair on a sound surface can last for years.
When should I call a professional?
Call a professional if you see rot, recurring peeling, widespread failure, high or hard-to-reach areas, or signs that water is getting behind the surface.
Final Thoughts
A worn exterior does not always mean you need to repaint the whole house. In many cases, smart, timely repairs can restore the look of your siding and trim while protecting the structure underneath. The key is to treat paint problems as early warnings, not minor annoyances. If you clean the surface properly, fix the root cause, and use the right materials, the results can be both attractive and durable. A little attention now can prevent much larger repairs later, and that is one of the best investments you can make in your home.