How to Clean Grout Between Floor Tiles (the Easy Way)
Quick answer: The best homemade grout cleaner for floor tiles is a paste of two parts baking soda to one part hydrogen peroxide. Spread it on the grout lines, let it fizz, then scrub with a stiff brush. If you’d rather minimize the elbow grease, a steam cleaner dramatically reduces scrubbing by blasting dirt from grout, with no harsh chemicals required.
Few cleaning jobs feel as satisfying, or as frustrating, as tackling dingy grout. Those skinny lines between floor tiles start out crisp and bright, then slowly fade to gray, brown, or worse. One day you glance down and notice that a beautiful tile floor is being dragged down by grimy grout.
The good news is that you don’t need to re-grout, hire a pro, or spend a fortune on specialty products. Cleaning grout between floor tiles really comes down to a handful of simple methods, most of which use items already sitting in the pantry.
In this guide, I’ll walk through the best homemade grout cleaner for floor tiles, share an easy method that dramatically reduces scrubbing, and explain when it’s worth reaching for something stronger. I’ll also cover the mistakes worth avoiding (I’ve made a few myself) and how to keep grout looking fresh for far longer.
Why Grout Gets So Dirty (and Why It Matters)
Before we get scrubbing, it helps to understand the enemy. Standard cementitious grout is naturally porous, which means it’s full of tiny holes that soak up just about any liquid or contaminant it touches. Spilled coffee, muddy footprints, mop water, soap scum, all of it seeps into those microscopic pockets and stays there. That’s exactly why grout lines darken faster than the tiles around them.
Mopping habits can quietly make things worse, too. A traditional string mop tends to push dirty water around rather than lift it away. The grout lines act like little troughs, collecting that grimy water until it either evaporates or gets absorbed, leaving a dingy residue behind. Over time, this builds into the stubborn discoloration most of us recognize.
Here’s something a lot of people don’t realize: certain cleaners actually attract more dirt. Oil- and wax-based products, like some popular wood and all-purpose soaps, can leave a film inside the grout that grabs onto grime. Even strong alkaline cleaners can leave a sticky residue if they aren’t rinsed thoroughly. Choosing the right method matters just as much as the elbow grease you put in.
What You’ll Need Before You Start
Gathering your supplies first makes the whole job smoother. Here’s a simple kit that covers most floor grout situations:
- Baking soda – a gentle, all-purpose grout brightener
- Hydrogen peroxide (the standard 3% drugstore kind) – boosts cleaning power
- A stiff-bristled grout brush – an old toothbrush works in a pinch, but a dedicated grout brush saves your back and time
- A spray bottle filled with warm water
- Microfiber cloths or a microfiber mop – better than string mops for lifting dirt
- A bucket of clean, warm water for rinsing
- Rubber gloves to protect your hands
For the truly hands-off route, a steam cleaner is worth considering, and I’ll get to that shortly.
The Best Homemade Grout Cleaner for Floor Tiles
After testing a few popular DIY mixes on my own bathroom floor, one combination clearly came out on top: baking soda and hydrogen peroxide.
Here’s how it works. Mix two parts baking soda with one part hydrogen peroxide until you get a foamy, spreadable paste. When the two ingredients meet, they fizz and bubble, a little science-class throwback that helps loosen grime from inside those porous grout lines. Spread the paste over the grout, let it sit for several minutes, then scrub.
When I tried this on a particularly neglected stretch of grout, the change was dramatic. The first few passes looked underwhelming, but after about 45 minutes of working in sections, the lines kept brightening and brightening. It was genuinely satisfying to watch years of gray lift away with nothing more than two cheap household staples.
A few other DIY options are worth knowing about:
- Baking soda and water: A solid, simple choice. Make a paste, scrub it directly into the grout, and you’ll see real improvement. It just won’t fully restore badly discolored lines.
- Vinegar and water: This was my biggest mistake. I started with it, expecting magic. After an hour of scrubbing, the grout was only marginally cleaner. Diluted vinegar simply doesn’t pack enough punch for deep grout grime, and because it’s acidic, it can erode grout over time. I’d skip it for floor grout.
So if you only try one homemade grout cleaner for floor tiles, make it the baking soda and hydrogen peroxide paste. It delivers the best results for the least money.
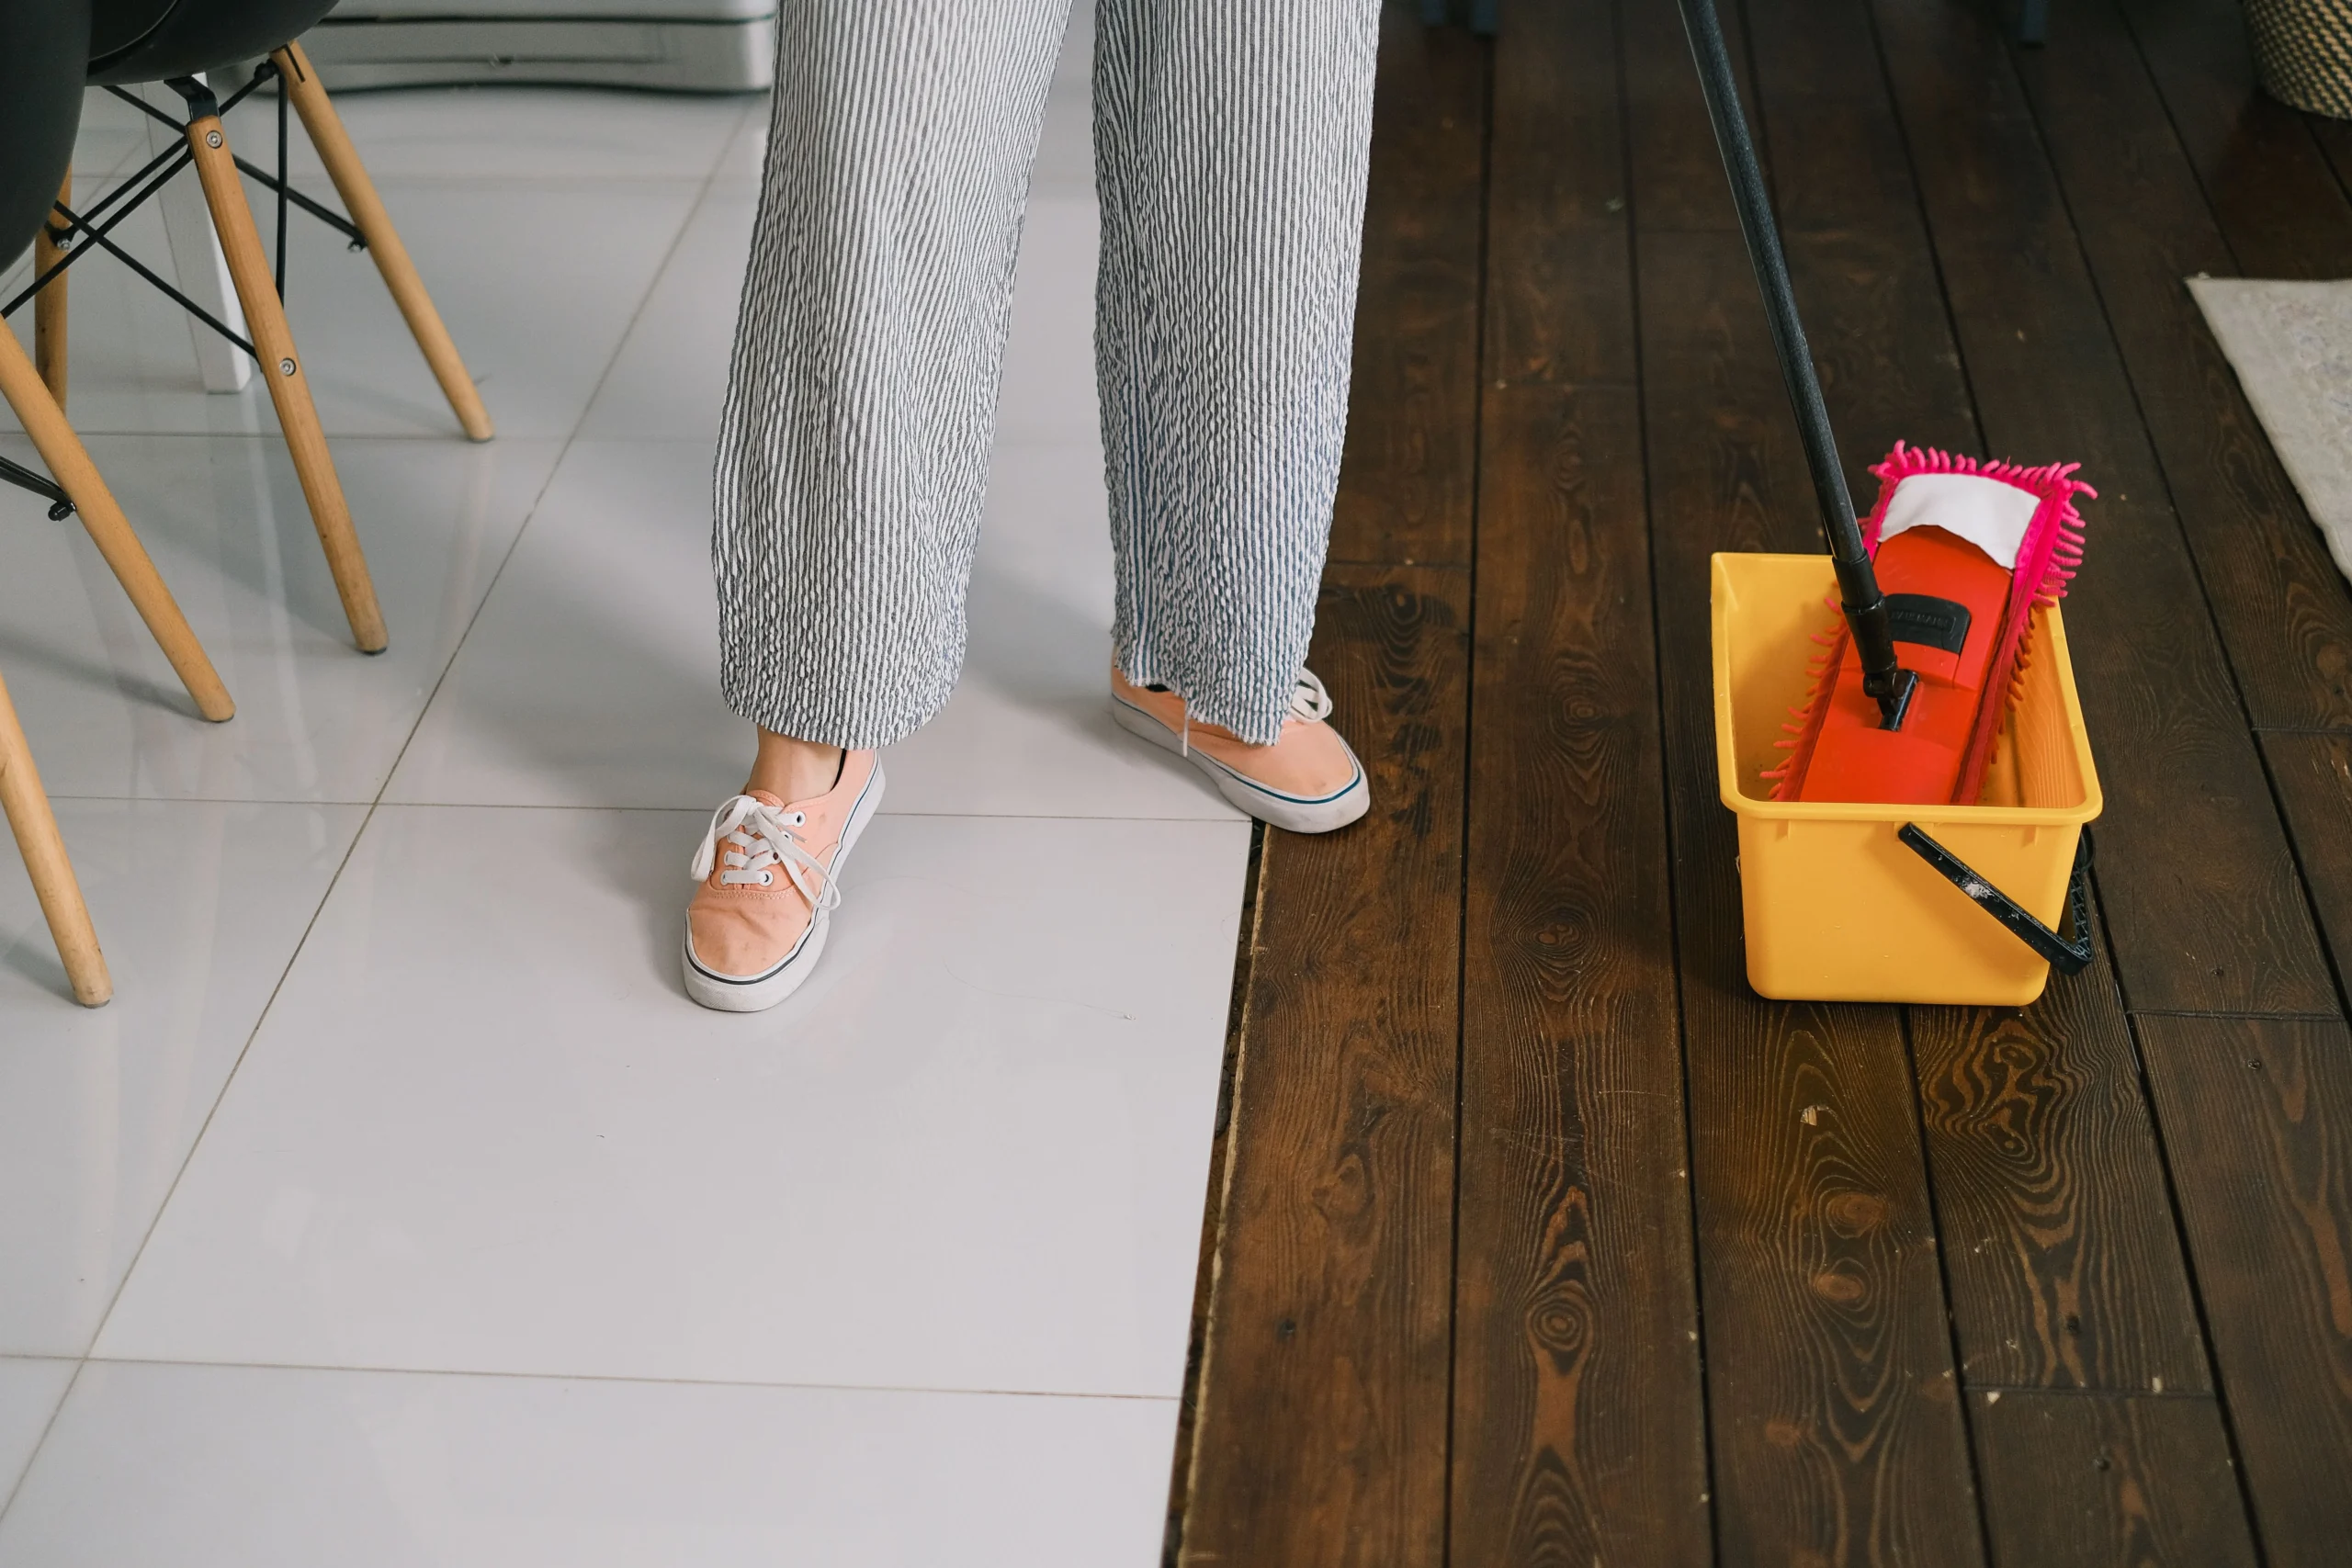
How to Clean Grout Between Floor Tiles With Far Less Scrubbing
Not everyone has the time, or the knees, for a scrubbing marathon. The good news is that there’s a genuinely effective way to dramatically reduce the scrubbing involved in cleaning grout between floor tiles: a steam cleaner. It won’t eliminate brushing entirely, especially on very dirty grout, but it takes most of the hard work out of the job.
Professional cleaners swear by them, and it’s easy to see why. Steam uses heat and pressure to blast dirt out of grout lines without any chemicals at all. It cuts the elbow grease dramatically and sanitizes as it goes, which is a real win for kitchens and bathrooms.
To use one on grout, attach a microfiber pad to clean the tiles and grout together as you glide across the floor. For especially grimy lines, switch to a small nozzle attachment and direct the steam straight into the grout before moving on. Once you’ve worked through the area, run a clean microfiber mop over the floor and dry it right away with a towel or dry mop. That last step keeps streaks from forming and stops loosened grime from settling back in.
A steam cleaner is an investment, but it’s a versatile one. The same machine can refresh upholstery, sanitize countertops, and tackle other floors, so it earns its place in the closet.
When to Bring in Stronger Cleaners
Sometimes DIY paste and steam aren’t quite enough. For set-in stains, mildew, or grout that’s been neglected for years, a stronger commercial cleaner can help.
Look for oxygen bleach (the kind found in powdered stain removers) rather than chlorine bleach. Oxygen bleach is gentler on grout while still cutting through deep stains and mold. Enzyme-based and pH-balanced commercial grout cleaners are good options too, especially for colored grout that could fade with harsher products.
What should you avoid? Chlorine bleach, ammonia, and toilet bowl cleaners. They seem powerful, but they can degrade grout over time, weaken the bond between grout and tile, fade colored grout, and even leave behind a film that attracts more dirt. Strong doesn’t always mean better when it comes to porous grout.
Whatever cleaner you choose, rinse thoroughly afterward and wipe up the dirty water rather than letting it dry in place.
Step-by-Step Grout Cleaning Process
Here’s a straightforward process for cleaning grout between floor tiles from start to finish.
- Sweep and mop first. Remove loose dirt and dust so you’re not just grinding grime deeper into the grout.
- Mix your cleaner. Combine two parts baking soda with one part hydrogen peroxide into a foamy paste.
- Apply to the grout lines. Spread the paste directly onto the grout, focusing on the dirtiest spots. Let it sit for 5 to 10 minutes.
- Scrub in sections. Use a stiff grout brush and work in small areas so you can see your progress. Short back-and-forth strokes work best.
- Lift the dirty water. Rather than spreading grime around, wipe up the loosened residue with a damp microfiber cloth. A wet/dry vacuum does this beautifully if you have one.
- Rinse with clean water. Go over the area again with fresh water to remove any leftover paste or film.
- Dry the floor. Wipe everything dry with a clean towel or dry mop to prevent streaks and stop grime from resettling.
It’s far easier to work in manageable sections than to take on an entire floor at once. Your arms, and your motivation, will thank you.
How to Keep Grout Clean Longer
Once your grout is sparkling again, a little maintenance keeps it that way. These habits make a real difference:
- Seal your grout. This is the single best step you can take. After grout is fully cleaned and dried, a grout sealer fills those porous gaps and repels dirt, moisture, and stains. Plan to reseal every 6 to 12 months in high-traffic or damp areas. Honestly, sealing after my big clean was the game changer, since the grout has stayed noticeably brighter ever since.
- Switch to a microfiber mop. Unlike string mops, microfiber lifts dirt away instead of pushing it into the grout lines.
- Wipe up spills quickly. The sooner spills and splatters get addressed, the less chance they have to soak in and stain.
- Use pH-neutral cleaners for routine mopping. Gentle, balanced formulas clean effectively without wearing down grout or leaving dirt-attracting residue.
A few minutes of upkeep each week beats hours of deep scrubbing down the road.
Frequently Asked Questions
What is the best homemade grout cleaner for floor tiles?
A paste made from two parts baking soda and one part hydrogen peroxide is the most effective homemade grout cleaner for floor tiles. The fizzing reaction loosens grime trapped in porous grout, and consistent scrubbing brightens the lines noticeably. Baking soda and water is a gentler alternative for lighter cleaning.
How can I clean grout between floor tiles while dramatically reducing scrubbing?
A steam cleaner is the best way to dramatically reduce scrubbing when cleaning grout between floor tiles. Steam blasts dirt out of grout lines with heat and pressure, sanitizes as it cleans, and requires no chemicals. Use a microfiber pad attachment for the floor and a small nozzle for stubborn grout lines. Keep in mind that heavily soiled or long-neglected grout may still need a bit of brushing to fully lift the grime.
How often should I clean my floor grout?
It depends on the location. Low-traffic, dry areas may only need grout cleaning once or twice a year. High-traffic spaces like kitchens, entryways, and showers benefit from monthly cleaning to prevent mildew and staining. Spot-cleaning spills right away always helps.
Can I use bleach to clean grout?
It’s best to avoid chlorine bleach. While it whitens initially, bleach can degrade grout over time, weaken the bond between grout and tile, fade colored grout, and leave a film that attracts more dirt. Oxygen bleach is a safer, gentler choice for tough stains.
Why does my grout get dirty so quickly?
Grout is porous, so it absorbs liquids, dirt, and soap residue easily. String mops can make it worse by pushing dirty water into the grout lines. Sealing your grout and switching to a microfiber mop will dramatically slow down how fast it gets dirty.
A Cleaner Floor Starts Today
Bringing dull, grimy grout back to life is one of the more rewarding home projects you can tackle in an afternoon. Start with the baking soda and hydrogen peroxide paste, reach for a steam cleaner if scrubbing isn’t your thing, and save the stronger cleaners for set-in stains. Then seal your grout to lock in all that hard work.
Pick one small section, try the method that fits your space, and see the difference for yourself. Once you’ve experienced freshly cleaned grout, keeping the rest of your floors looking just as good tends to become second nature.